Scan to BIM - the complete guide from point cloud to BIM model
Outdated documentation, MEP clashes discovered only on site, expensive rework forced by unknown existing conditions - the daily reality of refurbishment projects. Scan to BIM turns 3D scan data into a parametric BIM model and removes those risks at the source.
Introduction: what Scan to BIM is and when it makes sense
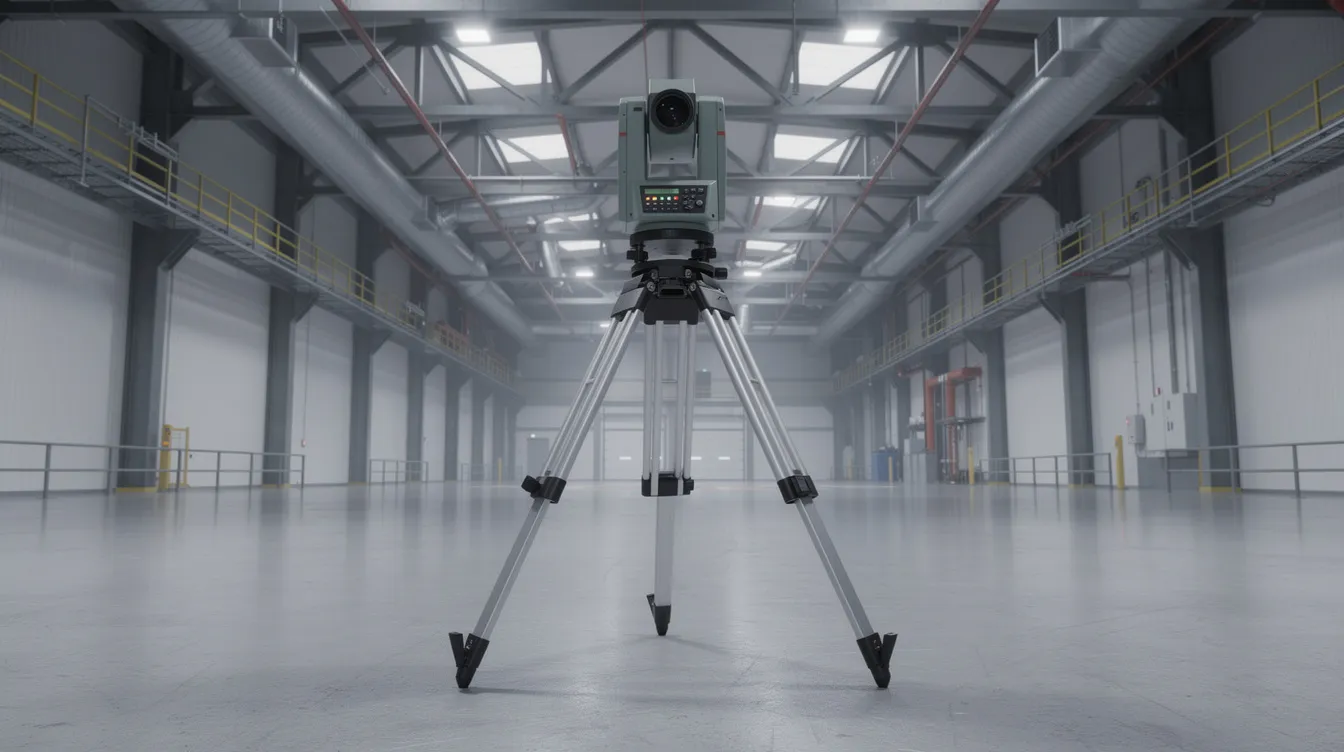
As-built documentation is often outdated or fragmentary - especially in buildings from the 1980s and earlier. Scan to BIM means capturing a point cloud with 3D laser scanning and then building a BIM model in Revit or another BIM platform. The result is a digital building model that reflects the real geometry with millimetre precision.
- Accuracy of ±1-3 mm instead of manual measurements prone to interpretation errors
- Complete data - scanners capture walls, slabs, services and structure in a single pass
- Reusability - the same cloud serves extensions, facility management and clash analysis
- Shorter lead time - 2-3 days of scanning instead of 2 weeks of manual survey
Typical scenarios: modernising a 1910 tenement building, rebuilding an 8,000 m² industrial hall from the 1980s, or extending a hospital with incomplete documentation. Slefty does not sell „the scan alone" - the point cloud is the means, the goal is a finished BIM model and complete documentation.
Stage 1: 3D laser scanning and point cloud capture
3D laser scanning records the physical space and produces a multi-million point set with XYZ coordinates and RGB colour. A typical survey day for a 2,000 m² office covers 30-60 scanner setups (FARO Focus S 350, Leica RTC360), with 5-20 minutes per scan.
A 360° photo from each station colourises the cloud and makes later interpretation easier. Survey control and benchmarks tie the scan to the national coordinate system.
Stage 2: registration, cleaning and preparing the cloud for BIM
Registration merges dozens of setups into one coherent coordinate system (Autodesk ReCap Pro, FARO SCENE) using targets, natural tie points and survey control. Cleaning removes noise - people, cars, vegetation, scaffolding. QA includes an RMS registration report, targeting below 2 mm.
A BIM-ready point cloud should deliver:
- Coverage of all key spaces - floors, staircases, ceiling voids
- Density matching the target Level of Detail (LOD)
- Registration accuracy confirmed by an RMS report
- RGB colourisation or panoramic imagery
- Segmentation and removal of temporary elements
Stage 3: importing the cloud and BIM modelling in practice
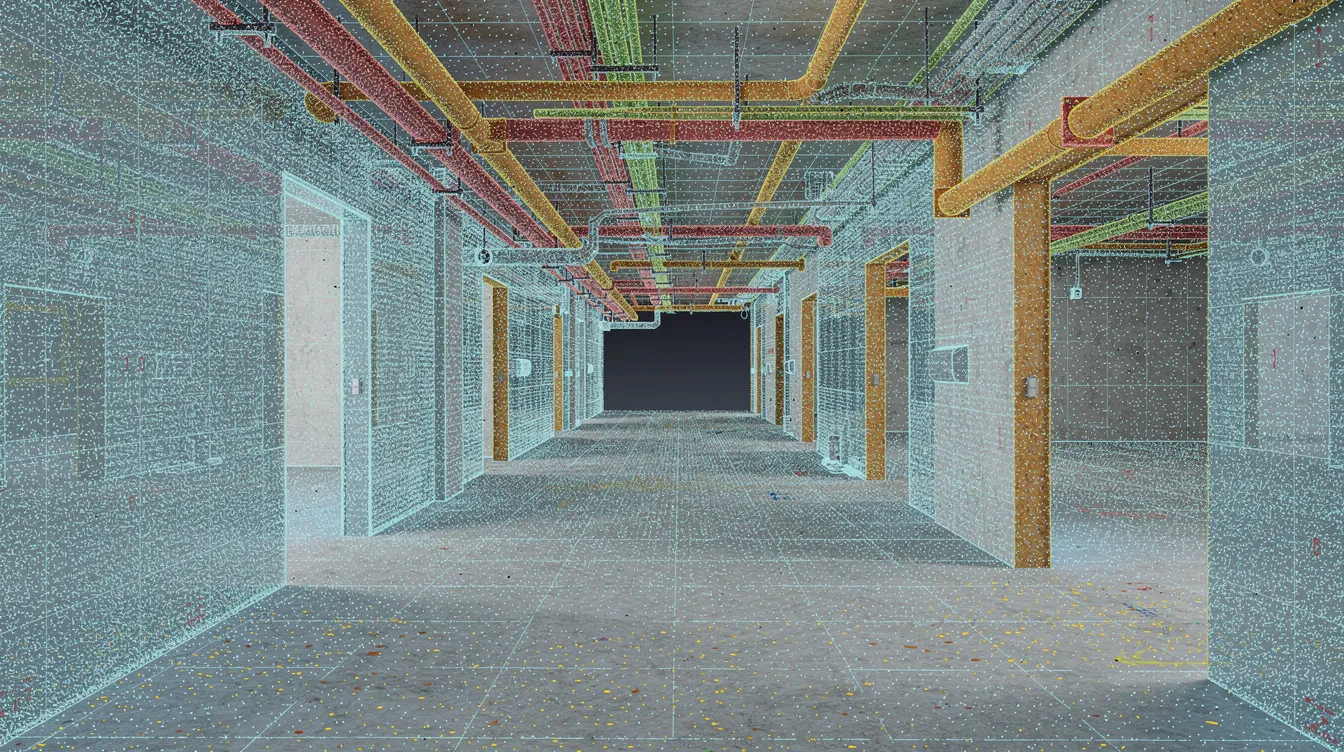
The prepared cloud is exported to RCP/RCS or E57 and imported into the modelling environment - usually Revit. Modelling is not mechanical tracing: it requires interpretation - recognising wall types, partition thicknesses, materials and service routes.
Main categories: walls, slabs, roofs, columns, beams, stairs, windows, doors and main MEP routes. Modelling takes 2 to 6 weeks depending on size and the number of disciplines.
Level of Detail (LOD)
- LOD 200 - fast architectural survey, massing and space layout
- LOD 300 - design development for refurbishment, dimensions measurable from the model
- LOD 350-400 - steel prefabrication and multi-discipline coordination
Benefits for designers, contractors and investors
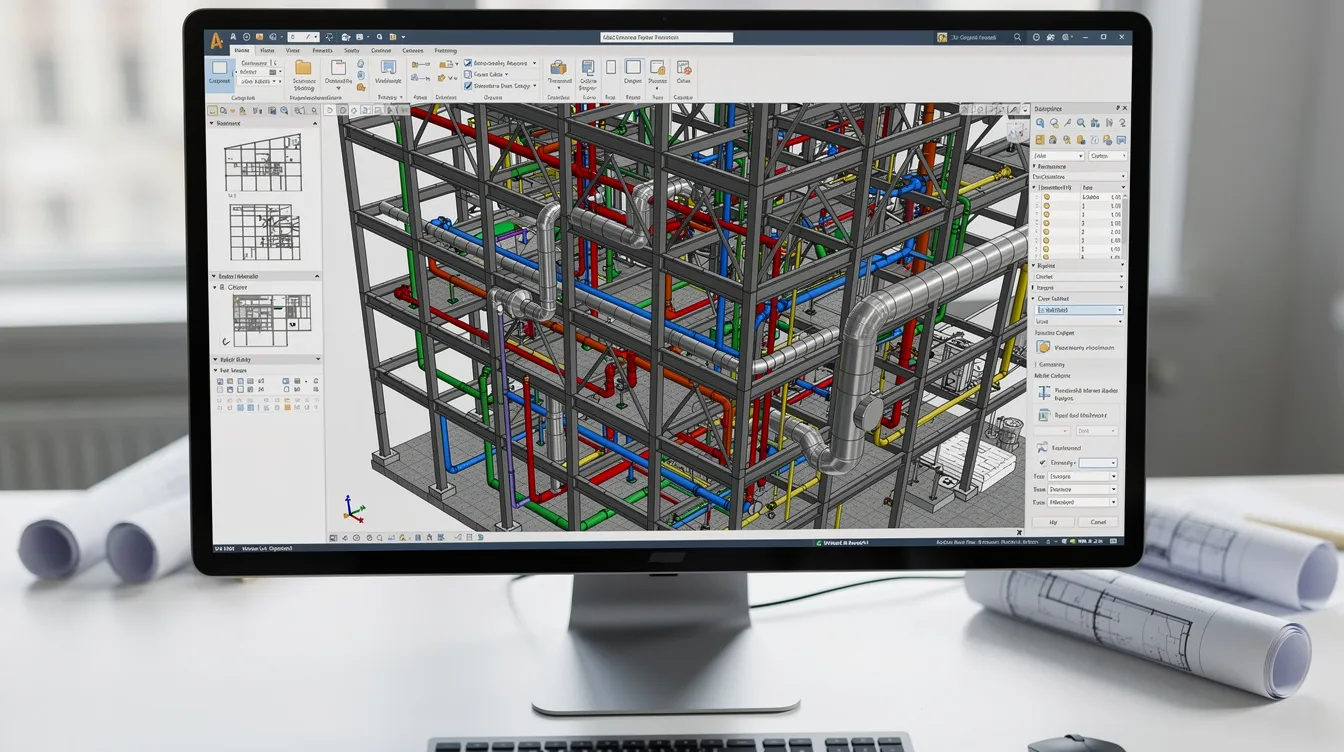
Scan to BIM is not a technology fad - it is real savings. Clash detection prevents costly site errors, and the model exposes discrepancies against old drawings before the crew arrives.
A BIM model supports the asset through its whole lifecycle - design, construction and operation. IFC files let you continue in any BIM software without platform lock-in.
Challenges and the most common problems
- File sizes: 100-300 GB clouds on 50,000 m²+ sites need workstations with 64-128 GB RAM
- Accuracy vs LOD: a ±1 cm scan does not justify LOD 400 - it creates a false sense of precision
- Incomplete cloud: inaccessible rooms and hidden services mean assumptions in the model
- Registration errors: misaligned floors, elements out of line
- No BIM requirements: without an agreed EIR, LOD and discipline scope the project drowns in data
Slefty mitigates these risks with a scan plan, a quality checklist and a pilot fragment of the model - before we commit to the whole building.
Quality control and case study
QA/QC covers control sections, deviation colour maps and discipline checklists (architecture, structure, MEP). A typical tolerance is a maximum 10 mm deviation on primary structural elements.
Case study - manufacturing plant
- Area: 12,000 m²
- Scope: architecture + structure + main services
- Scanning: 2 days (TLS, 85 setups)
- Modelling: 5 weeks, LOD 300-350
- Result: clashes between new ducts and existing beams found early, line downtime cut from 5 to 2 days
How to start: requirements, pricing and working with Slefty
Slefty can both run the 3D laser scanning and deliver the full package (point cloud + BIM model), or take over an existing cloud for modelling if it meets quality requirements. Typical range: a 1,000-2,000 m² office is 1-2 days of scanning and 3-5 weeks of modelling including QA.
What to prepare before the call:
- Photos of the building (facades + interiors)
- Existing floor plans, if available
- Approximate area and number of storeys
- Access information (suspended ceilings, roof, staircases)
- Purpose of the model: as-built documentation, refurbishment design, facility management
- Expected LOD and formats (RVT, IFC, DWG)
Let's talk about your building
Send us photos and plans - we will prepare an initial analysis and propose the optimal scan to BIM scope.