How to Turn Hours of Clicking into a Single Button
BIM Automation and the Power of pyRevit in Data Center Design
Navigating complex BIM projects can be demanding, but the real challenge is dealing with endless repetitive tasks. Whether designing high-tech facilities or corporate offices, every engineer knows the headache of manually tracing geometry or hunting down "disappearing" elements.
In this article, we'll show you how to leverage the free pyRevit add-in, artificial intelligence (Claude AI), and a bit of code to take Revit automation to a whole new level and stop paying the "change penalty."
Case Study: Never-Ending Work and the Nightmare of Measuring Equipment Surfaces
Adrian Parchimowicz shares his experience with this exact problem:
"3 hours of clicking. Every single time the equipment layout changed. That's what calculating MEP equipment footprint areas used to look like for me: manually tracing every machine with room separator lines, placing rooms, and tweaking them after every revision. On a project with dozens of machines and a constantly shifting layout, it was an endless waste of time with every update."
Manually tracing complex geometry point-by-point is a recipe for frustration and design errors. So, instead of accepting the status quo, Adrian turned this process into a single button on the Revit ribbon.
The "Create Rooms from Equipment" Tool (pyRevit + Revit API)
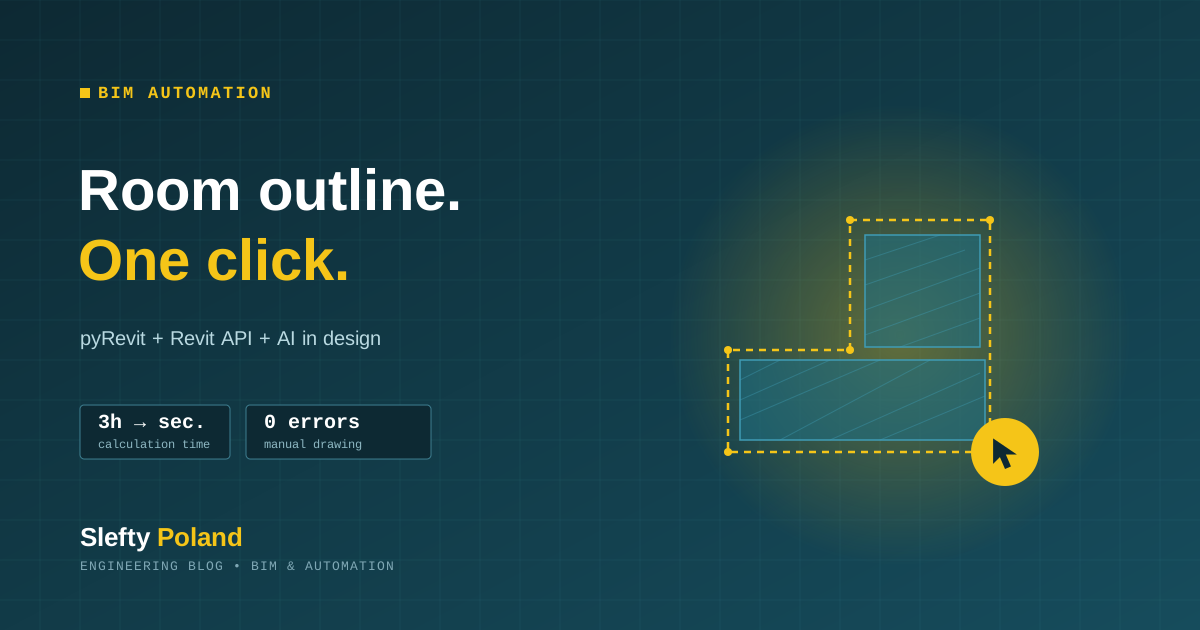
The whole process comes down to a few simple steps: select the equipment, click the button, and the tool automatically draws a closed boundary of room separators around each unit. Place the room, and the calculated area instantly lands in your schedule. Seconds instead of hours. And when the layout changes again? You simply click it one more time.
The hardest part? Contrary to what you might think, it wasn't drawing the lines - it was the geometry and logic:
- Multi-module machines: the tool creates a "stepped" boundary along the outer perimeter of all modules, completely bypassing unnecessary micro-details.
- Complex shapes (L-shaped, triangular): the script generates an accurate, yet simplified contour.
- Ladders, platforms, and small items: elements elevated above floor level are automatically ignored, creating a clean technical zone outline at floor level.
- Always a closed loop: a maximum of 32 lines with absolutely zero internal lines cluttering the geometry.
How Was This Script Built?
The key to success was combining engineering knowledge with the capabilities of modern AI. A dedicated Python script was developed through direct collaboration between the engineer and an advanced Large Language Model (Claude).
The step-by-step approach was critical:
- 1Speaking "Revit Language": precisely instructing the AI using terms straight from the Revit API documentation, such as Associated Level or Floor Plan.
- 2Taking small steps: building logic incrementally and rolling back to stable versions whenever the generated code strayed in the wrong direction.
Why pyRevit instead of Dynamo?
Unlike scripts built in the Dynamo environment, add-ins integrated directly into the Revit toolbar run with zero delay. Designers don't need to open a separate script player, load heavy graphs, or deal with program freezes. The entire workflow boils down to a single click and picking equipment on the view.
Practical pyRevit Features for Everyday Work
Major process automation is one thing, but pyRevit also excels at solving smaller, everyday headaches that slow you down.
1. Disappearing Elements? Use "Why Not Here"
Have you ever placed an MEP family in your model, verified it looks perfect in 3D, only for it to completely disappear on the floor plan? Instead of wasting time clicking through dozens of visibility settings and view ranges, the "Why Not Here" feature diagnoses the issue instantly and pinpoints the exact cause (e.g., the element falls outside the View Range).
Expert Recommendation: while pyRevit offers an automatic view adjustment feature, using it on complex models might impact view templates. It's best to use the add-in for diagnosis and make manual adjustments to maintain 100% control over your file structure.
2. Visual Identification of Open Files
Working on large-scale models means keeping dozens of tabs open simultaneously. Additional interface settings allow you to assign custom color accents to tabs based on open project files or family editors. This quick visual cue helps you immediately differentiate the main project model from external technical links.
Summary: Who Is This Solution For?
If your architectural or engineering firm handles complex industrial or commercial projects, micro-automation is the only path to boosting project profitability. Implementing pyRevit tools allows you to:
- Reduce spatial documentation creation time by up to 80%.
- Eliminate human error inherent in manual line drafting.
- Elevate your firm's technological standard, creating a strong competitive advantage when presenting to investors.
Digitization and process automation are rapidly becoming industry standards. You don't need expensive proprietary licenses - it relies on open-source technology and smart AI integration.
Over to You!
How do you handle calculating equipment footprint areas in your projects? Do you rely on manual separators, custom parameters inside families, or your own in-house scripts? Let us know.
Written by: Alicja Chyży | Slefty Poland
Solution & Case Study by: Adrian Parchimowicz | Slefty Poland
Want to automate your Revit workflow?
Tell us about your project and we'll show you where pyRevit, the Revit API and AI can save your team hours every week.
Talk to us